DFS Replication is an easy
and effective way to replicate data between servers. When changes are detected
in a file, only the blocks that change are replicated. Consequently, DFS
Replication works efficiently over low bandwidth connections. This makes DFS
Replication an excellent option for, among other uses, replicating data from
remote locations to a central office. Let’s check it out.
Setting up Replication
Setting up Replication
On either
the source or target server perform the following steps.
Click Start, Administrative Tools, DFS Management
In the DFS Management console, right
click Replication, and
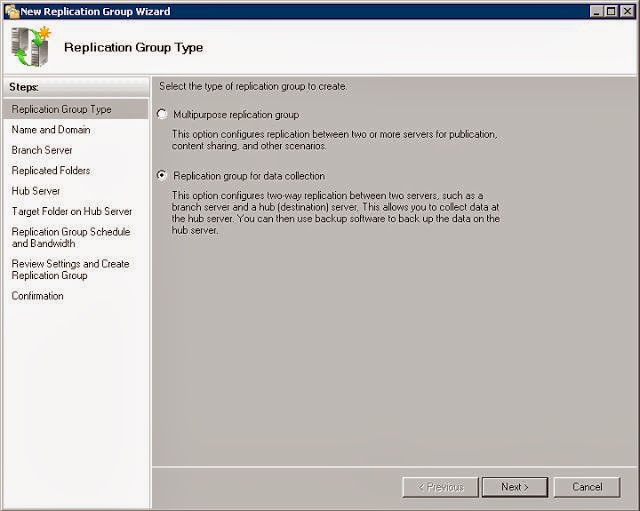
select New Replication Group from the context menu to start the New Replication Group Wizard.
Click the Replication group for data
collection radio button and
click Next.
Enter a unique name for the
replication group in the Name
of replication group dialog
box. Enter a domain in the Domain dialog box that will contain the
replication group. Click the Next button.
Enter the name of the
source server in the Name dialog box. All servers in a
replication group must be in the same forest. Click Next.
Click the Add button to specify which folders on the
source server to replicate.
Enter the path in Local
path of folder to replicate or
click the Browse button to browse to the folder. If you
want a custom name for the replicated folder, click the Use custom name radio button and enter a new name in Use
custom name dialog box. Click OK. Repeat this step for each
folder
Once all the folders to be
replicated have been added, click Next.
Enter the server name of
the destination server in the Name dialog box and click Next.
Enter or browse to the Target folder to which the source data will be replicated
and click Next.
Set the Bandwidth that will be used to continuously
replicate the data or select Replicate
during the specified days and times to
schedule the replication. Click Next.
Review the Replication group settings and click Create to build the replication group.
After the New Replication Group Wizard completes, click Close to close the wizard.
Click the Close button to acknowledge the replication
delay.
Check box Do not show this again


No comments:
Post a Comment